
Today I'm going to show you how to make an extremely versatile baby accessory.
(And it just happens to a really cute grown-up accessory to boot.)
Soon after J was born (at the end of June) we started taking walks together using our Moby wrap.
At first those walks were just for me, to get the baby weight off, but soon I realized J actually loved to be outdoors. I could just see it in her eyes, she was in her element. So in the Fall, when it started to get chilly, we both still wanted to get out and enjoy the world. It was kind of a production --- I would layer her in warm pants and a jacket, get us into the Moby wrap, and then put a sweater over me. And when the walk was done, we had to get all those layers off.
Then one day I saw a lady wearing one of these awesome baby wearing ponchos
and I was ecstatic!
I basically ran, right there and then, to the fabric store to buy some fleece and make my own!
It was revolutionary!
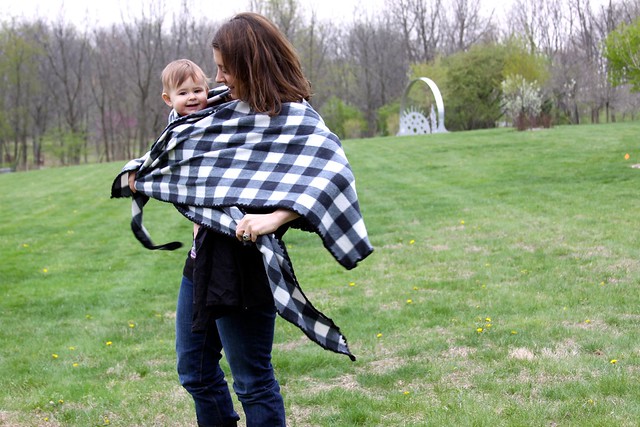
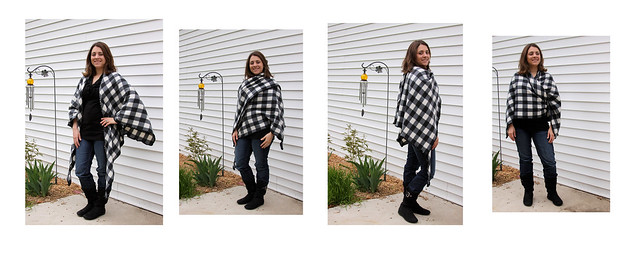
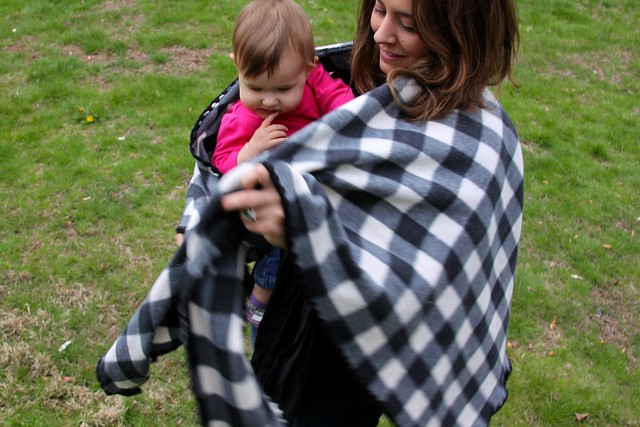
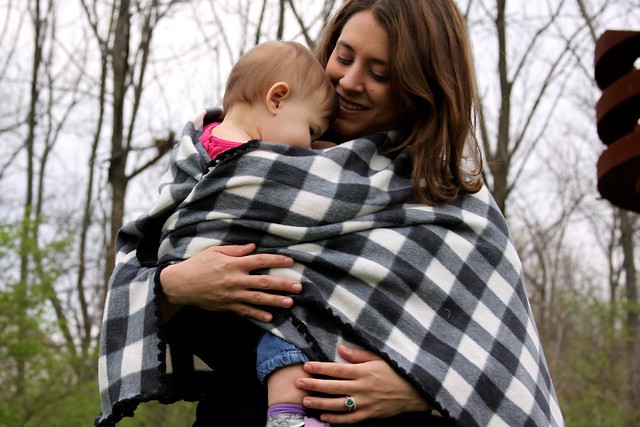
You can wear it so many ways.
It works with any size baby.
It can be worn over any baby carrier I've ever seen.
And any way you wear it, it works great!
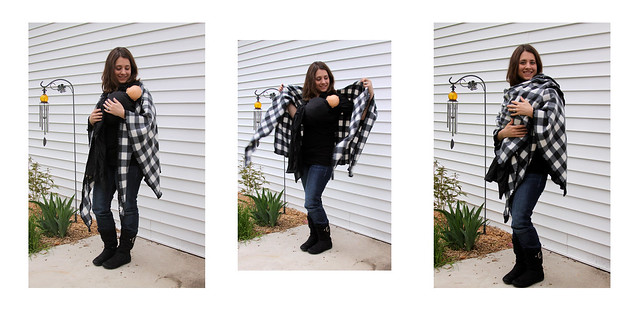
You can wear it with a new baby.
(P.S. Thats not J, that's "Gerby" the doll. )
You can wear it with a bigger baby.
This is J.
:)
Here's how you can put it on with your little one on your back:

Just pull it around you and Cutie, tie it behind your back, and now you are both warm. :)
AND
if thats not enough coolness,
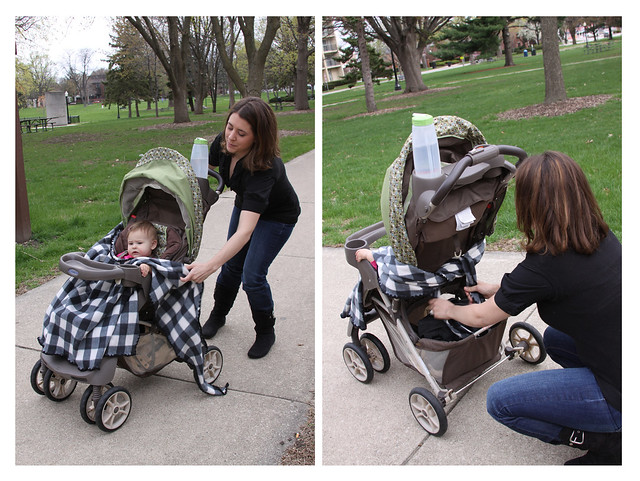
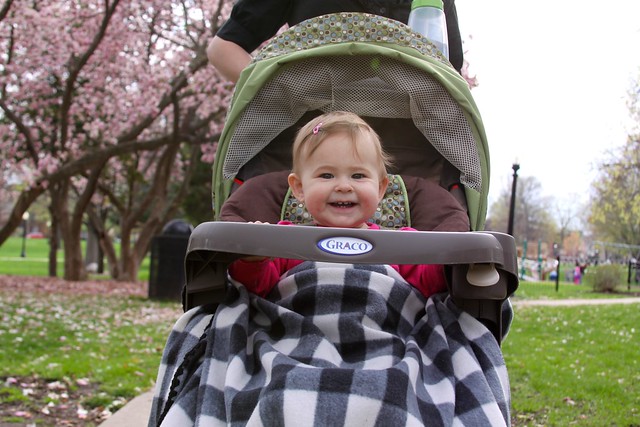
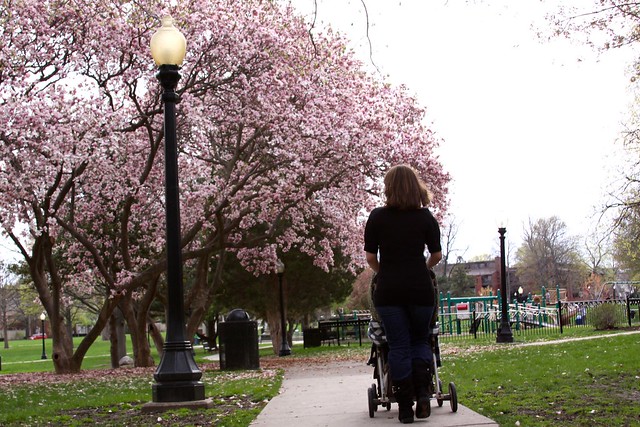
you can also use it as a tie-on baby blanket in your stroller.
Now the blanket can't be can't kicked off, or droop down into the wheels.
Well,
Let me show you how to make one.
Its really simple and you don't even have to sew if you don't want to.
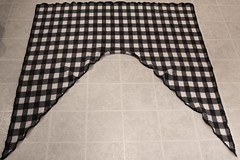
All it is, is a piece of fleece fabric cut into this shape.
I mean, come one --- sooo simple!
Now I will walk you through the process:
Be warned, I'm a fly-by-the-seat-of-your-pants kind of project do-er,
so be prepared,
I don't do exact instructions, just a guide.
You start with a piece of fleece that is around 2 yards long.
(You may be able do less, I'm gonna talk you through that as we go.)
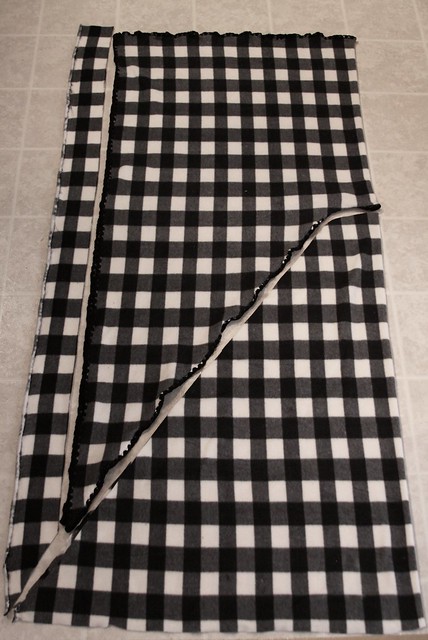
Fold it in half, the long way (like a hot dog bun)
And
You basically make two {or three} cuts.
You just cut out the center piece, making the space that fits around your neck.
To figure out the neck shape, I took a tee-shirt of mine,
and laid it where I wanted the collar. I used its neck to create the line I would cut on the fleece.
Then I just took my tape measure and stretched it from there to the outer corner, just to help me keep my line straight as I cut the rest.
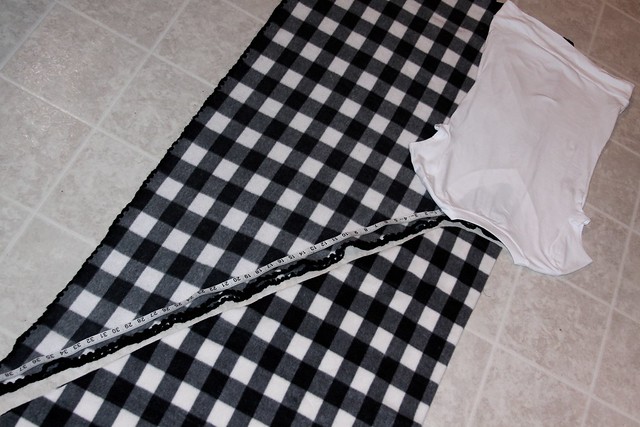
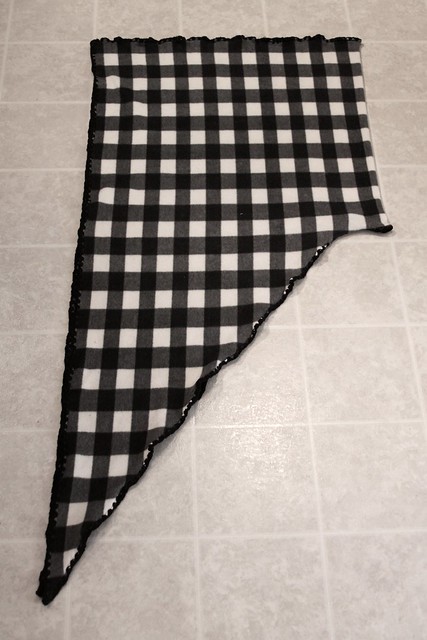
So now you've cut out the center piece.
Try on your poncho.
If you are short like me, you may want to take a bit off the side (that long skinny piece on the left)
so the poncho doesn't come down quite as far on your arms.
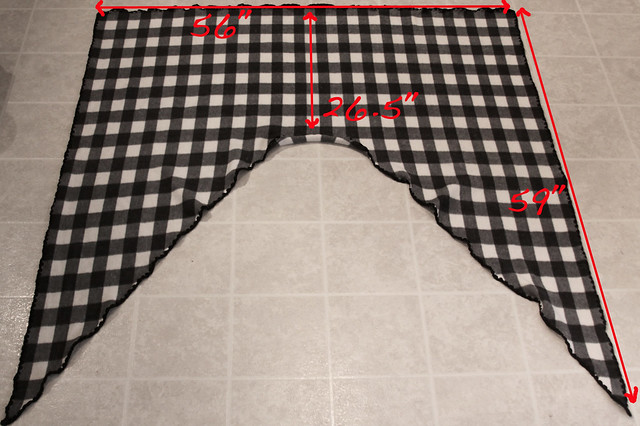
I'm 5' 3" so if you are taller than that, you may want to make these measurements that I'm showing you larger, so the poncho will cover more of you.
You also want to make sure you leave the tails long enough that you can easily tie them around your waist (accounting for a bit of extra length when wearing larger babies.)
If you start long, you can always trim it to make it shorter.
Thats really all I did.
I started with 2 yards, and cut out the center, and then just kept trimming till it fit the way I liked.
And if you don't want to sew you are done! Voila!
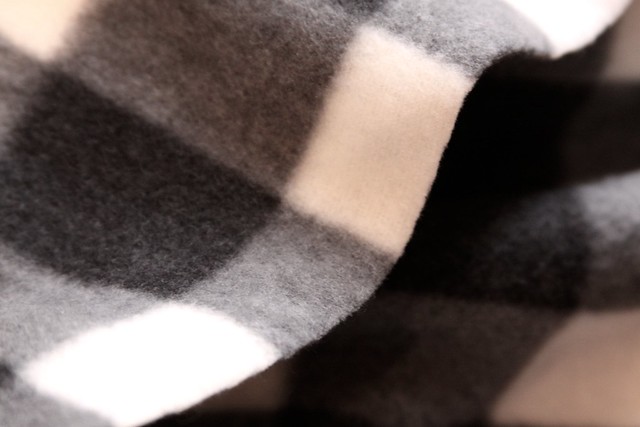
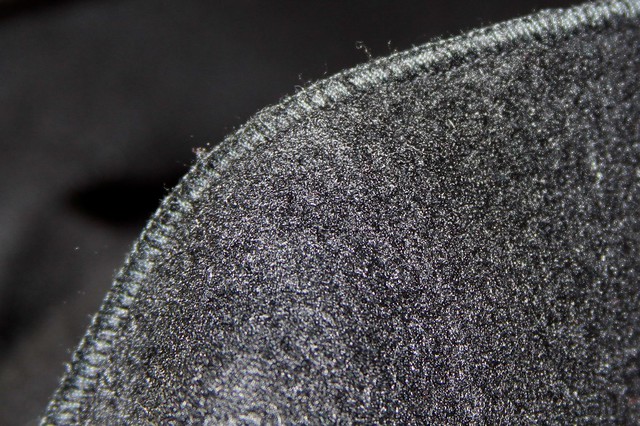
This is what your edges will look like.
I don't think the raw, un-sewn edge looks bad.
If you have a serger sewing machine (or someone you know does)
you can finish the edge will a rolled hem,
to give it an officially finished look.
Like this.
Or if you crochet,
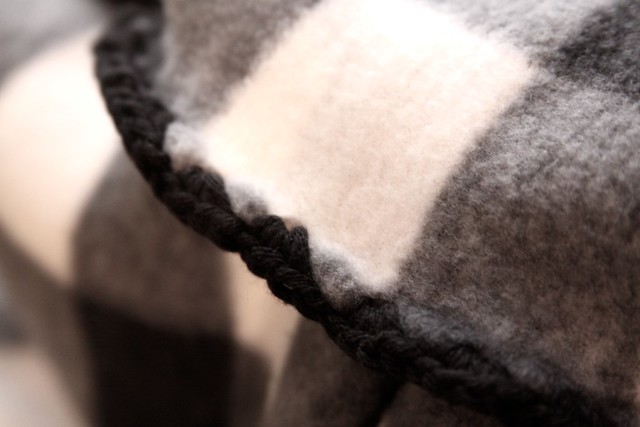
you can do what I did to mine and give it a fancy edge.
Like this.
________________________________________________________
If this is your cup of tea, and how you want to finish yours with crochet, you will need something sharp to punch holes into the fleece to insert your crochet needle into. (I used whatever I had laying around, which happened to be a knitting tool for cable knits, with a pointy enough end. But you can get creative and use whatever.) I just eyeballed the distance between the holes.
And to do the stitch:
Yarn over and pull the loop through your poked hole. Yarn over and pull that loop through the other two on your needle. Now do that twice more in the same hole. Chain once, and start a new hole about 1/4" from your first hole. Keep doing this. When you hit a corner make your hole right in the "armpit" of the corner. Do your crochet in the hole bit. Then chain twice to go around the corner, and do another trio of crochets in the same corner hole.
________________________________________________________
But you can finish yours anyway your heart desires.
You can google up tons of ideas.
(Search for stuff like "how to finish fleece blankets" "How to crochet edge of fleece baby blanket" ect.)
So get your creative thoughts pumpin,
go buy the fabric of your dreams,
(I picked mine because it reminded me of a coat that was my grandma's I found at our cottage. I love her taste.)
and cut your self one of these today!



awesome! love that this is so versatile!
ReplyDeleteI just really loved all of the babywearing pictures - so sweet! The coat is also great of course. I was lazy with Boo and just used a knit sweater with buttons that I could stretch and button around baby in carrier and myself, but if I get motivated I might try something like this as it would be great for new baby come this fall/winter. And I love the Moby wrap...just saying.
ReplyDeleteAwesome coat! I might make that for myself!!! Thanks!
ReplyDeleteFantastic idea. I will be bookmarking this for when I have another baby!!
ReplyDeleteThank you so much for this tutorial! I just made one and am so excited to use it this weekend when I'm at a craft show. I may make another one but put a liner in so it'll be warmer as we head into November/December in PA.
ReplyDeleteOf course what I wanted to be no-sew ended up being sewn. I looked at the tail and thought, "Wow, that's going to be way too long!" So I cut a 4-5" strip off. Then I put it on and of course it was way too short so I just sewed that happy little strip right back on! I figured if I had a sweater on it would give me more bulk and I would need more fabric.
Thank you so much for this!
Thought I'd let you know that I made a shawl using your pattern. It turned out very nice. Thank you. I posted it on my blog if you'd like to check it out. http://urbanhomesteadinginmichigan.blogspot.com/2013/10/shawl.html
ReplyDeleteAwesome! Thanks so much for sharing!! It looks great! I like how you made it your own.
DeleteOh wauw, it's perfect for carrying on your back! Especially when you put the point ends through a ringsling ring before you tie them together on your back.
ReplyDeleteHi Lydia! This is an absolutely gorgeous tutorial, thank you! I think my readers at AllFreeSewing.com would love it. Would you allow us to link to this post from our website? I couldn't find your email on this site, but if you'd like to speak more about how our website works feel free to send a response here: http://www.allfreesewing.com/index.php/hct/contact_us_page
ReplyDeleteThank you!
Hi, I bought a wool blend material 44 inch x 61 inches to make this today but it came out too small :( what width was your material to start with? I'm 5 ft 11 so it needs to be long. Gorgeous poncho by the way!
ReplyDeleteI'm pretty sure mine was 60" wide (and 2 yards long). But I am short. (5'3")
DeleteMaybe you could do a seam up the middle to get some more width.
Hope something works out for ya!
what a fantastic idea! I had both my kiddos in slings through winter months and would have loved this. Too late for me, but thank you for sharing with the mamas who really appreciate babywearing.
ReplyDeleteWhy can't I pin this it says image invalid
ReplyDeleteThis is awesome! I decided to try it out and made it double-lined with fleece on top and a cuddly soft interior fabric. I suppose it's also reversible if I want the print to show. Thanks for sharing this easy idea for a totally great and cozy poncho!
ReplyDeleteNice idea! I'm now a great-aunt (as of one week ago!!). This will be an ideal gift (besides the ones I already got!)
ReplyDeleteThank you for showing the measurements in inches - that helps me a lot.
Keep up the good work.
Nice Informative Blog having nice sharing..
ReplyDeletebaby carriers for hiking
It’s impressive that you are getting thoughts from this piece of writing as well as from our discussion made at this time.온라인카지노
ReplyDeletegreat article. Really looking forward to read more. 바카라사이트
ReplyDelete