You know how black clothes can be...
they don't stay black for that long, which has always made me want to try using dye to bring them back to their former glory.
they don't stay black for that long, which has always made me want to try using dye to bring them back to their former glory.
Well, I finally got the courage to give it a whirl!
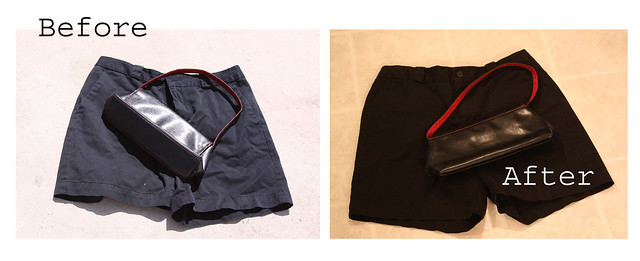
I was working on getting a summer wardrobe together for myself since, after having a baby and working towards health, I basically have a closet full of clothes that don't fit. I needed to do this mini closet makeover --- on the cheap of course --- so it's off to the thrift store I go. And I found these black shorts that fit perfect at the thrift store for $0.25. (And they are from Gap no less!)
Awesome.
Sold.
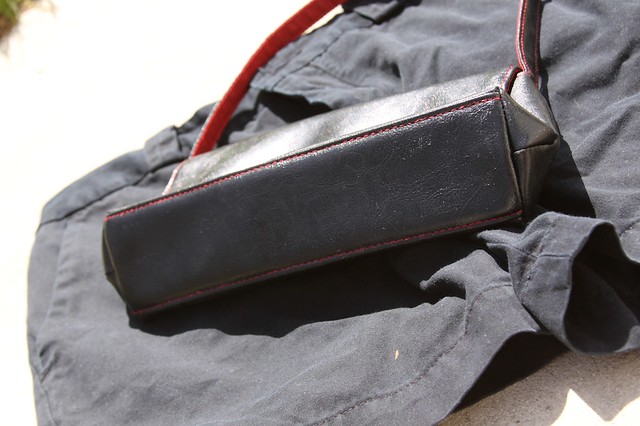
Here they are as-purchased. (The black purse is there for a color reference point.) You might notice a tiny bleach spot near the bottom of the leg.
And,
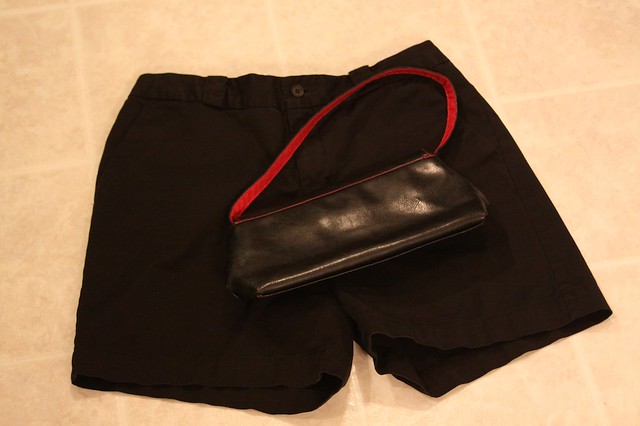
here they are after my experiment.
Ooo la la!!
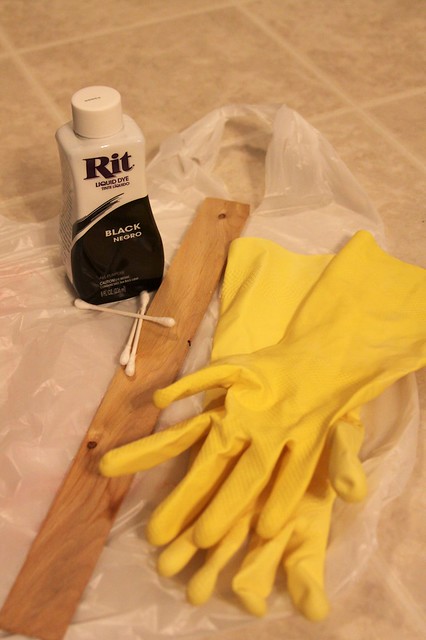
If you want to play along at home, here's a rundown of what I did. But let me disclose that I don't think I am anywhere near an expert at this, and I think there is room for improvement on what I did.
You will need some dye. I used Rit.
Gloves --- don't want to dye your skin.
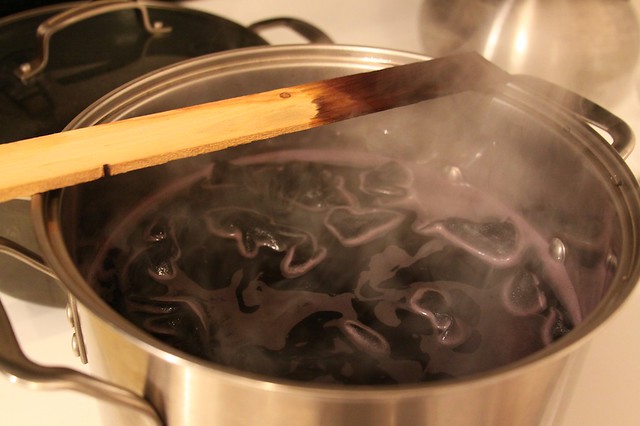
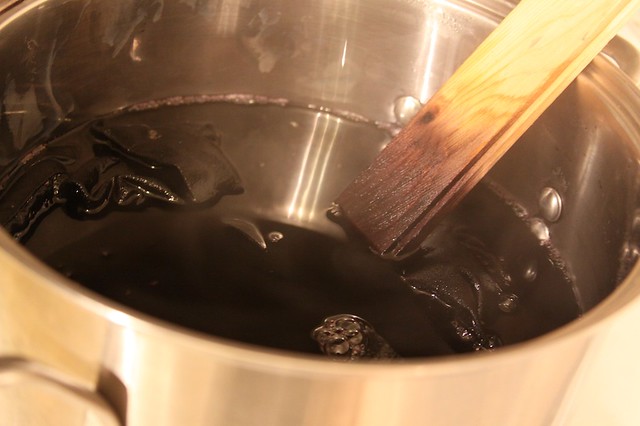
Something to stir with (at first I used this wooden thing I found in the garage, but then switched to a stainless steel spoon --- way easier)
And I used the Q-tips and plastic bag for the bleach spot.
* Not pictured: Some salt.
I also put a garbage bag on the floor in front of the stove --- that dye will dye your flooring if it splatters!

First,
I put some pure dye onto that spot with a Q-tip and let it dry.
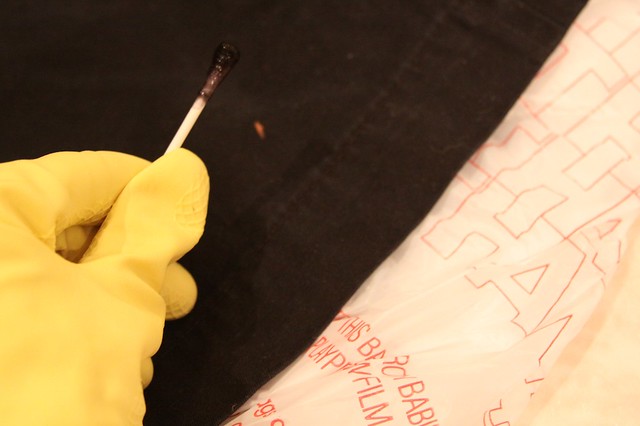
Then I followed the instructions at Rit's website for porportions of water, dye & salt.
You can find them HERE
(You also will want to read up on what types of fabric will accept their dye and other helpful tips HERE.)
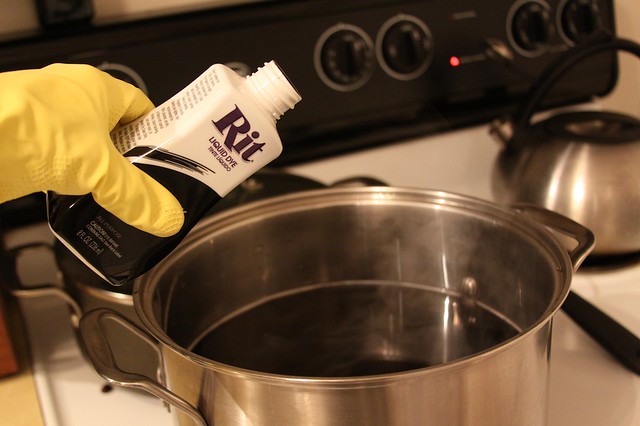
So you let it soak while on heat for at least 30 mins --- you have to stir --- which gets boring.
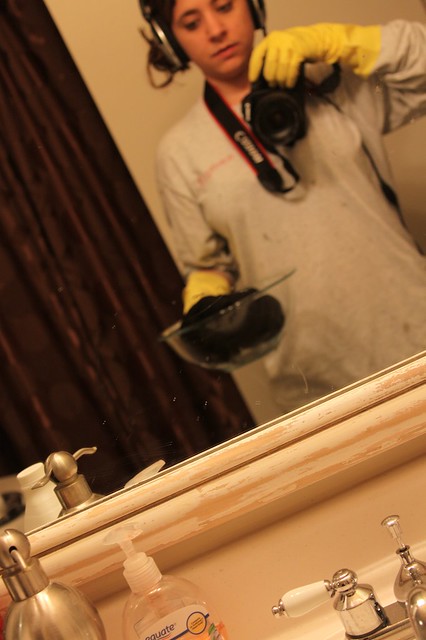
So I wore headphones for entertainment
and clothes I use to paint in --- just in case of splashes.
(P.S. I did this while J was in bed --- not a baby-friendly event.)
That worked well, but I wanted even more depth, so I took it off the heat and let them soak for like 4 hours after that, just stirring on occasion and that got a better result. (This step is a deviation from the Rit instructions --- but what can I say, I'm a rebel.)
Then Rinse.
Rinse.
Rinse.
Takes forever --- you want to get to the point where the water runs clear.
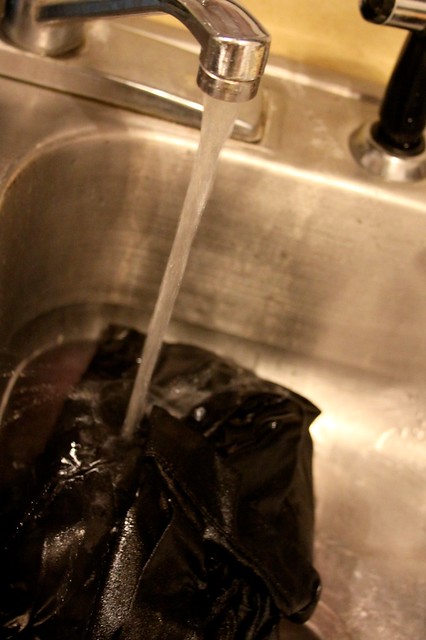
(You can see on the left that the water looks purple at this point.)
Then bring them to the washing machine --- use a bowl in case anything drips on your way.
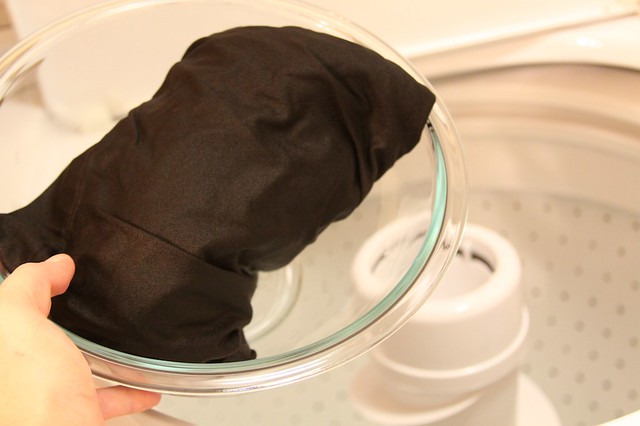
Now even though I rinsed so much, the water still looks purple-ish.
So I ran them through about 3 wash cycles to be safe.
(And they say to be extra sure to wash anything you dye with like-colors in the future to ensure you don't accidently dye something you don't want dyed.)
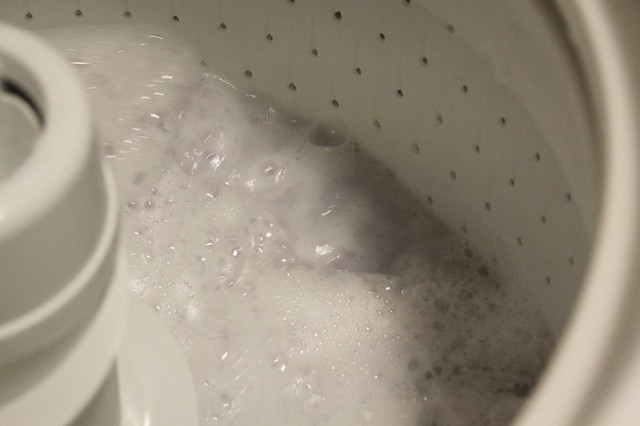
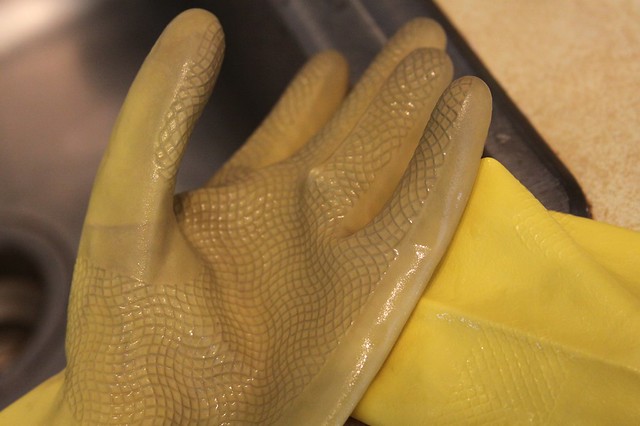
See, the gloves are also a new color --- glad my hands are not!
It was kinda labor intensive, but I would say it was worth it.
It was a fun experiment.
And when you add the $1.98 dye to the $0.25 shorts --- I'd say those are some pretty fantastic, new-lookin Gap shorts on the super cheap!!

Not bad. Not bad at all.
:)

That's awesome! I think I'd have to save up a couple of items, though, to make the effort worth it for a super-impatient person like me. {I am impressed you documented it all with pictures!}
ReplyDeleteThe shorts look great! Bet you'll rock 'em.
what an awesome idea! would have never thought of that... so inspiring!
ReplyDelete