
I’m really excited to show you this.
I’ve gotten our master bedroom all painted!
It was kinda a major undertaking.
Was it? I guess I’m just kind of still used to being a renter, and only watching makeovers on tv. I’m out of practice for doing it myself. Those tv makeovers happen so fast, at least from the couch! This felt like forever! By the time I get all our rooms done I’ll be back in the swing of it -- and then I’ll have nothing to do! lol.
The reason it felt like a major undertaking was…
wait…
you want pictures….
I’ll talk your ear off later….
(I write way too much in a single blog post, in way too much detail, about details. But its my blog, and these are my thoughts and the way I think. You can skim if I bore you.)
Here is where we started:
 |
| Before |
Not terrible. But nowhere near great.
And there was the awkward built-in.

So the hard work paid off.

You can see the top of my dresser on the left.
I’ll reveil more soon -- I need to get the hardware on before you can see it.
I have plans are for a leaning mirror beside the closet, on the window wall (above.)
And I’m trying to make the official design choice on doors for the closet.
I hate siding the doors -- you can't access the middle of the closet. So if nothing else I’ll get bi-folds to match our six panel doors. But what I really want is to get two large doors and have them open like french doors. There is enough room, I’m just nervous the door will get in the way at some point. But it would be awesome to have the doors like that because then we could hang things on the backs of the doors too.
Also I am gonna use 4 of these corbels (below) -- two on each side --to make bedside shelf/bedside tables. I’m gonna paint them white.
 I found these corbels brand new in the package at the thrift store -- can you believe that? They were only $4 each! That is a JACKPOT. They start like $30 and go way on up in price in the big box stores.
Also I want to have sconce lighting to give our smaller tables more space.
So I grabbed that little vintage sconce for $2.25. (It works, I tested it.)
And this swing arm lamp sconce was in Ruby’s room before -- I’m gonna spray paint it and get it a new lamp shade. (That’s my workable plan, unless I change my mind -- which has been known to happen.)


And the best finds where this real wood blinds for $5 per window. I got 4.
Two for sure are going in our bedroom. (With the curtains I set here messily to show you, hung up higher to the ceiling over them.)

Thanks for hanging out with me through my LONG (too long) blog post!
You can’t smell it through your screen, but this house used to reek of wet dog and old-shut-up-home-smell. So I smell that when I look at this photo. Its nearly all better now. Only the slightest of pet-scent in a few spots. And when we are done it will be fully better. But you better believe that carpet was a HUGE part of the smell -- like 98% of it.
Anyway.
Here is a before look from the bathroom door towards the closet and hallway.
And now the pristine “Progress” Photo. After painting.

Ok so you notice the built in is gone. We tore that out first thing -- we had to in order to refinish the hardwood floor hiding under the carpet.
I talked before how Blake and his dad worked on the wall after that process made some holes.

I did a lot of reading on which primer to use for this and while I didn’t feel like I was 100% sure I was gonna pick the “right” one (I’m crazy and tend to think in perfectionist terms) I did feel I was going in the right direction. I went with Zinsser’s B-I-N Shellac Base Primer which I got at Menards in a gallon size. From what I read lots of people think its the best/ the only way to go for smoke and it’s supposed to seal out all smells. Our room didn’t smell like smoke -- but since we had the other stinks I figured this was a good idea.
 |
| Before |
I talked before how Blake and his dad worked on the wall after that process made some holes.
And now Angle 2: towards the closet.
You’ll notice the closet doors aren’t painted. That’s because we are gonna get different ones, and I didn’t wanna waste paint on something we aren’t keeping. (We might not get around to the doors for a while -- but at some point they are outta here.)
Ok so lets talk about the major undertaking:
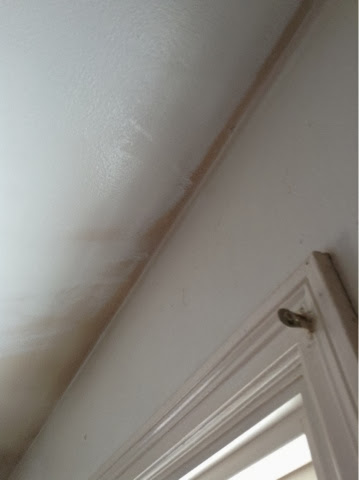
During my figure-out-which-white stint, I was laying in my bed with Jasmine looking at paint colors taped to my ceiling with her….when I tipped my head back and the window light was right so that there was no window casing shadow (unlike in the photo below) and my jaw dropped! WOAH. There is a really dark line behind the bed. Yeah….that’s a smoker ceiling. Someone used to smoke their bed back in the 60s. I hadn’t seen it hiding in the shadow before. But it’s a good thing I saw it that day because it let me know I needed to do a heavy duty primer before I put up my paint. I’m sure the nicotine would have bled straight through paint.
 |
| Starting to Prime |
I did a lot of reading on which primer to use for this and while I didn’t feel like I was 100% sure I was gonna pick the “right” one (I’m crazy and tend to think in perfectionist terms) I did feel I was going in the right direction. I went with Zinsser’s B-I-N Shellac Base Primer which I got at Menards in a gallon size. From what I read lots of people think its the best/ the only way to go for smoke and it’s supposed to seal out all smells. Our room didn’t smell like smoke -- but since we had the other stinks I figured this was a good idea.
I’d never used shellac. I had no idea what I was getting into. I thought it could be killer smelly like the floor urethane. I’ve worked with oil paint and know how that can be -- slightly overwhelming. And forums were often mentioning the smell of shellac being strong, so I was nervous. I sent the girls out of the house with Blake for the afternoon to be safe. But I was really surprised when I opened the can -- it smells like alcohol. Like you are swimming in really strong liquor. So its not like a paint smell at all. I found it to be less overwhelming than oil based paint. So that was good. And the smell goes away once it’s dry. I wouldn’t be so nervous about the fumes in the future. I wouldn’t have the girls in the room with me -- but I wouldn’t freak out if they were in the other side of the house. (Use your own discretion, not mine.)
I can’t remember now -- but I think I did two coats of primer on the ceiling, but maybe just one and some spot re-coats. And I went down part of the wall behind the bed just to be safe.
 |
| Check out that filthy edge! Don’t Smoke people, just don’t. |
This stuff is SUPER watery. It’s just made that way. It not sheer or anything, just really, really, really liquidy. Which has a pretty big learning curb when applying it -- especially to a ceiling. You can only put a really little amount on a really thin roller. And then you can only put the tiniest amount of pressure when rolling. Otherwise you get a paint shower. And you want to use drop clothes for sure. It also leaves tiny speckle rain flecks no matter how well you do. So all the more reason for a drop cloth.
I did end up with some little flecks dried on my hard-earned hardwood floors where my drop cloth didn’t cover. I ended up using acetone to get it off -- I used as little as possible for as fast as possible because I’m sure its not great to put on hardwood -- and I spot tested it to make sure I wasn’t going to ruin anything.It didn’t hurt the urethane and it got off the paint. That primer adheres to anything very strongly, so I was very glad I got it off. Use discretion if you try acetone in your home -- it will often take the finish right off -- especially furniture. Always spot test in an inconspicuous area.
 |
| Gross ceiling and the crazy wall that was behind that built-in |
I think that used about 3/4 of the gallon. (I used the rest to lightly coat the laundry room before painting that since I think they smoked in there, we found a cigarette butt in there. -- weird spot to smoke if you ask me.)
So if I had wanted to prime the ceiling and all the walls of our 12x12 room, I think I would have gone through the majority of two gallons.
(I think that’s what I will do in Ruby’s room when I get there. That was the smelliest room with the scariest animalness. And some days I still get a light whiff of it, so when I paint I am gonna use that stuff to seal it away.)
I think the B-I-N Shellac did a great job.
So then after priming, I had to actually paint the ceiling.
That felt like it took longer than normal because of the primer -- it’s kinda glossy once it’s dry, so I had to do two heavy coats of paint. And then I spot re-coated a few places a third time.
(I am using regular, non-ceiling paint for my ceilings to get the “perfect” white. But I don’t think that was the issue -- since I used it on a non-primed-with-shellac-ceiling prior to this and it went on much easier. So I don’t blame the paint. And…for that matter I don’t “blame” the primer -- because I know it’s doing a good job -- it was all just a longer than normal process for me.)
So that was of two days ceiling painting (in addition to the day of priming) to get both coats on. (You know I gotta mom sometimes. ;) ) (And so when I say two days -- I really mean two nights. Because that’s when I get a chance to paint…post bedtime.)
THEN I moved onto the trim.
My mom was in town during some of the ceiling and some of the trim painting. So that helped me really get a ton done.
 |
| Brightening up the trim! Looks so much better and cleaner! |
But she had to leave before I could get all the trim coated….so….
 |
| I can’t get enough of how cute they look, all swallowed by the bed, sitting together. |
No shame -- I hired Netflix and Curious George to babysit, while I finished up. It worked surprisingly well. Granted I was mostly behind the bed during that time, so Ruby forgot to ask me to pick her up, since she couldn’t see me. Once I came out, she remembered. Thankfully Blake was home by then and helped me out so I did get the trim done!
A couple days later I was determined to get some paint on the walls. I just REALLY wanted to get our room painted. I crave having a fortress of solitude -- a pretty one -- in the midst of mothering in a dismantled house. So I just pressed really hard through last week to get this accomplished.
To make sure I started, I semi-self-sabotaged by starting to paint during nap time. I knew there was NO way I’d get enough done -- but I also knew that once I started I’d have to finish. So I went for it. I made it about this far and then had to saran wrap it up until night time.
Painting this room took what seamed forever because of all the breaks I had to take. (I always compare to my pre-motherhood days, when I could just paint a room in a day.) I think it took me three days -- with the second coat and the edge work. I did not get a lot of sleep.
But somehow for the most part I did pretty well with that.
And my girls really impressed me last week. They are really blossoming into best friends.
 |
| Jasmine wanted to hold Ruby for her whole nap. She wants to be her mom. :) |
 |
| (I haven’t painted our doors yet) |
After I painted I was a little nervous I didn’t go bold enough with the color. In our last house I did a kind of teal peacock blue for our bedroom, and loved that. I started leaning towards color like that again when I was looking at paint colors. But I wanted something different, it felt too unadventurous to do it again. This color is called “Mid Day Mocha” its a Glidden color mixed to Valspar paint.
I think I will really like it once the room is all pulled together. For now it all seems so neutral. But as I age, I’m really falling in love with subtle. So I think I pulled the right trigger.
But later if I get bored -- I can change it.
My aunt paints her house nonstop, every time I come over it’s different.
I can always change it. (After I change the rest of my house first. ;) )
Anyway, we also changed the face plates on our light switch and outlets. We went with the fancy pants ones for our room -- you gotta master-up the master bedroom. A basic plastic white one would have been an upgrade from the nasty dirty almond one. And that would have cost like $.039 or something like that. Ours cost about $6.00 per plate. But it was worth it for in here. In Blake’s words, “It’s a one time purchase.” It looks WAY better.
Ok so one more flash back side by side:
|
| Before |
|
| Progress |
|
| Before |
|
| Progress. |
I’ll reveil more soon -- I need to get the hardware on before you can see it.
I have plans are for a leaning mirror beside the closet, on the window wall (above.)
And I’m trying to make the official design choice on doors for the closet.
I hate siding the doors -- you can't access the middle of the closet. So if nothing else I’ll get bi-folds to match our six panel doors. But what I really want is to get two large doors and have them open like french doors. There is enough room, I’m just nervous the door will get in the way at some point. But it would be awesome to have the doors like that because then we could hang things on the backs of the doors too.
Also I am gonna use 4 of these corbels (below) -- two on each side --to make bedside shelf/bedside tables. I’m gonna paint them white.
Also I want to have sconce lighting to give our smaller tables more space.
So I grabbed that little vintage sconce for $2.25. (It works, I tested it.)
And this swing arm lamp sconce was in Ruby’s room before -- I’m gonna spray paint it and get it a new lamp shade. (That’s my workable plan, unless I change my mind -- which has been known to happen.)
Speaking of thrift store finds -- yesterday my mom was visiting, so I got to run around to all our thrift stores and I found so much awesomeness!
I found this gorgeous china bowl I’m gonna use for my make up for $4.
Three gold, gorgeously patina-ed square bowls 3 of them for $3. (I don’t think they are gonna stay in that spot -- just showing you in the photo.)
That cup with my brushes is a really pretty teal (didn’t show in the camera) and I got two of those for $2.
And the best finds where this real wood blinds for $5 per window. I got 4.
Two for sure are going in our bedroom. (With the curtains I set here messily to show you, hung up higher to the ceiling over them.)
And I’m debating on putting the other set of two in the guest bedroom or our eating area of the kitchen. (But I think I am gonna buy bamboo ones for the kitchen because I really need three -- one for over the sink too.)
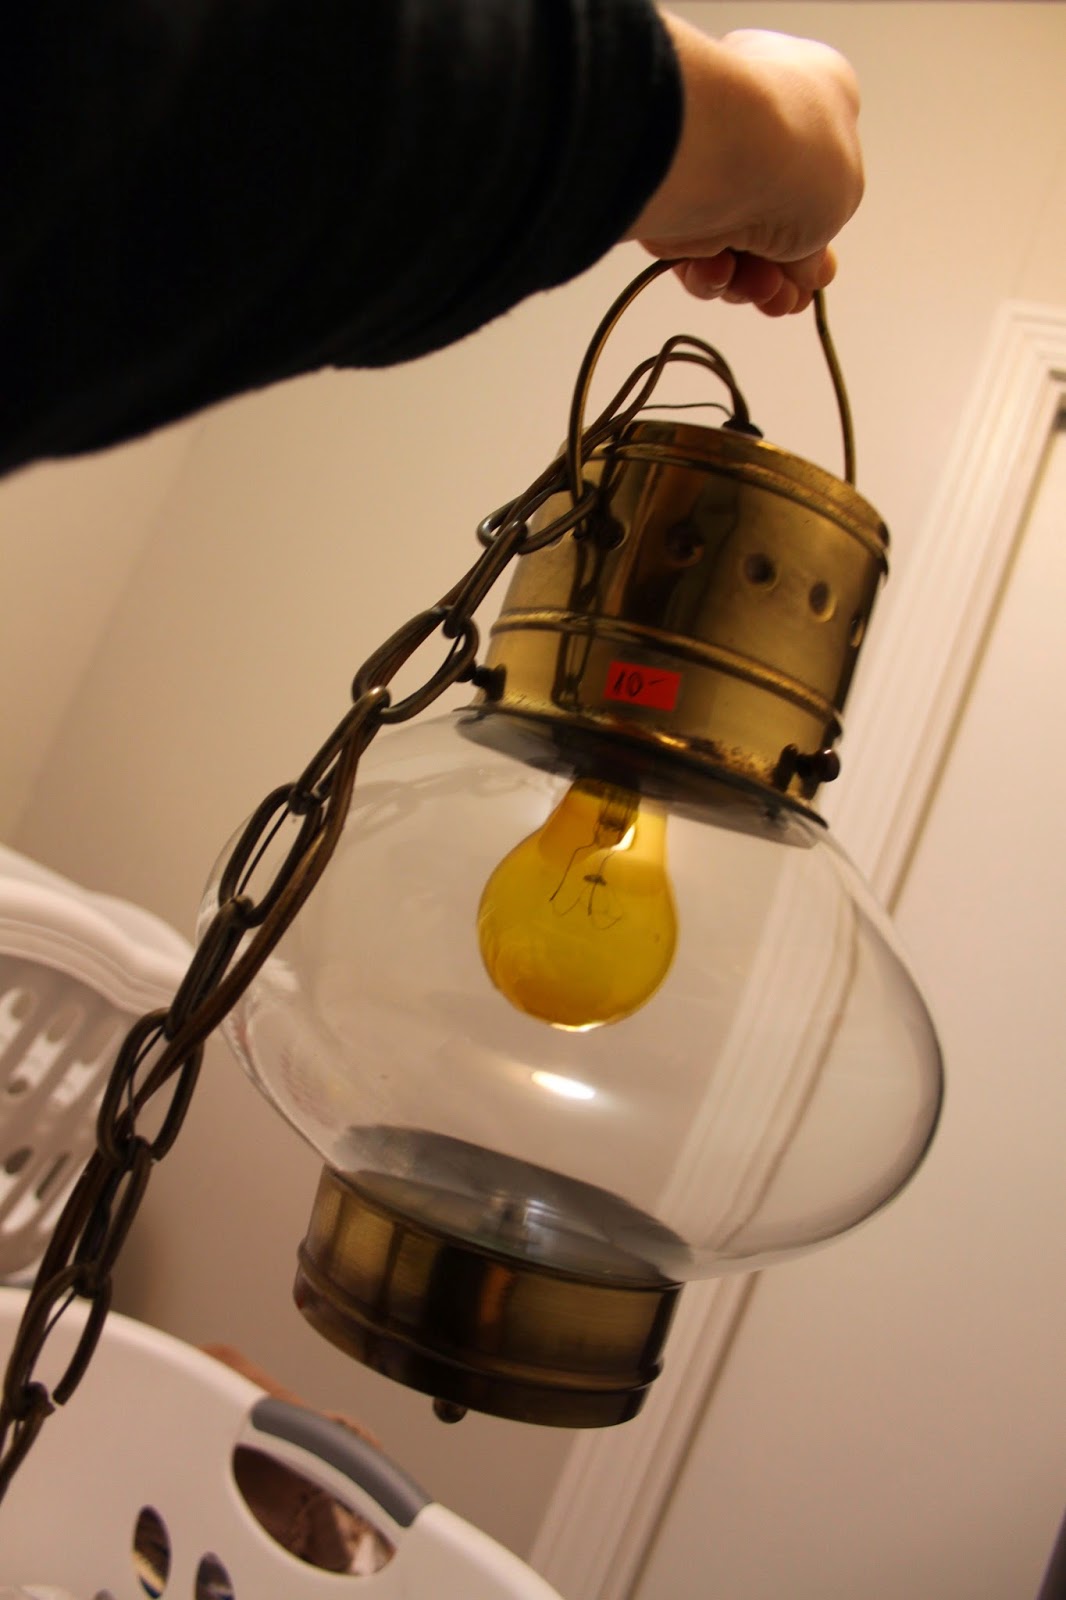
THEN I found this awesome lantern light for $10. The glass looks like this one light I couldn’t stop staring at in Lowes the other day for over $100.
Imagine it with out the yellow light bulb -- perhaps an Edison one. And perhaps painted oil rubbed bronze.
I loved it entirely too much to leave it there. I think it might go in the laundry room. I gotta feel it out.
I LOVE the thrift store!!! I can’t imagine life without it.
And because I can: two cute pictures of my cute kids.
:)
 |
| She made the necklace and bracelet with my mom |
 |
| Sees a camera immediately says “cheese” and runs towards you. |
Thanks for hanging out with me through my LONG (too long) blog post!
See ya soon (I hope -- because that means I got more done!)
No comments:
Post a Comment