
I ran into one baby proofing issue in my house that got my creative juices flowing thereby creating "Baby Friendly Storage on the Cheap."
Think you might have any storage needs this could work for? (You don't need a baby, you just need to want some good looking-ness.)
Well Read on my friend, read on.
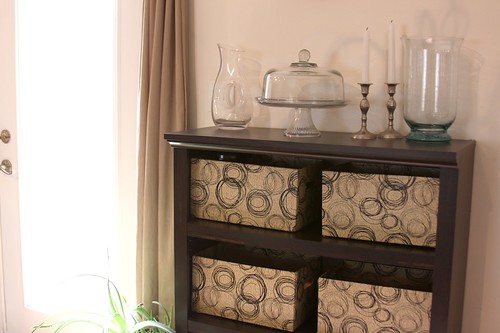
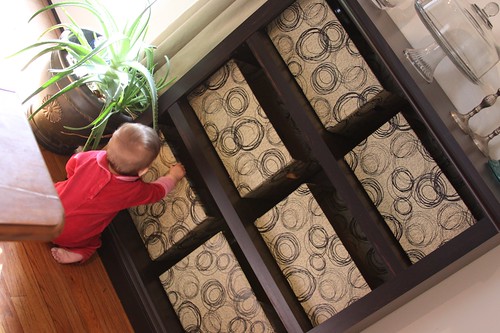
Once apon a time I had a display of dishes that I just adored. I felt all Better Homes & Gardens. My white dishes made my day all the time just staring at me from those shelves. But I have a cutie pie who isn't about to leave those dishes alone, and since she makes my day more than dishes, I gave up my display.
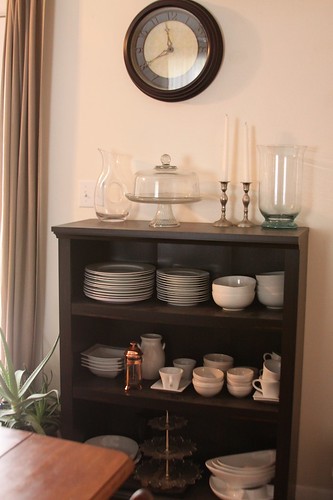
But What the heck do I put there now?
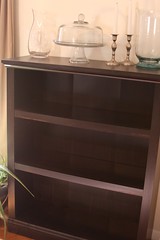
I mean I could get baskets, but even if I could find some for $10 each (highly unlikely) that would cost me $60. And I just wasn't wanting to spend it. What could I do? What could I do?
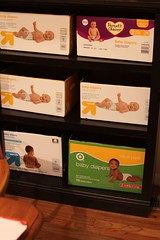
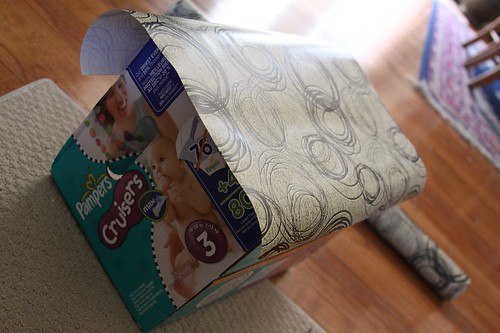
I have diaper boxes, they fit there.
Then it occurred to me that I could cover them and usher them into new glory. All for about $5 -- the cost of the wrapping paper. (I had the rest of the supplies.)
The HOW TO:
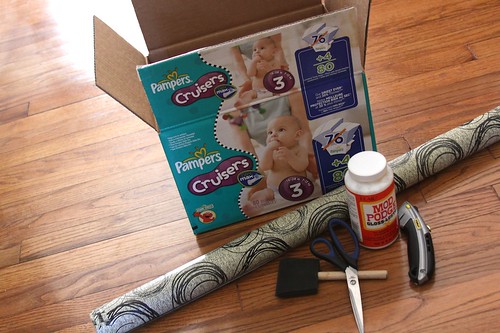
What you need:
-Boxes (Diaper boxes are perfection for this. I asked friends to save them for me so I could get this project underway ASAP.)
-Box cutter
-Wrapping paper (You could also use wallpaper and skip the glue. I just had an easier time finding wrapping paper I liked, and it was way cheaper.)
-Scissors
-Glue (I use Mod Podge)
-Some kind of brush or applicator
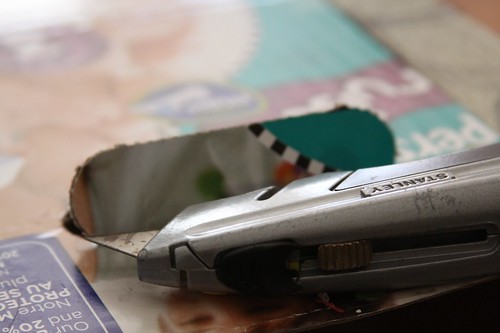
Step1:
Use the box cutter to remove the top flaps and small flaps hooked onto the handle holes.
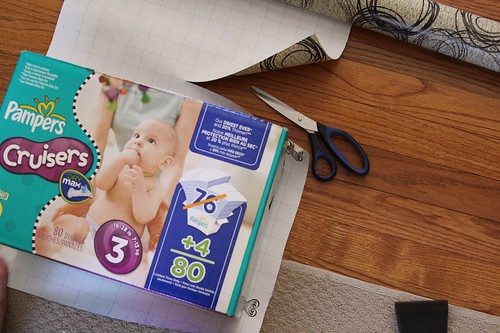
Cut the wrapping paper for the long side of the box. Leave enough room so that you will be able to wrap the paper around the bottom & top of the box, as well as around the sides.
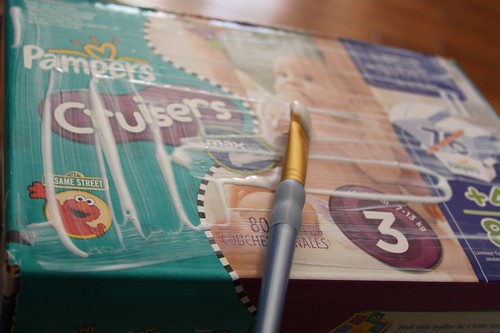
Spread your glue around. I just pour it on the box and "paint" it around.
Lay the paper so that it is centered from side to side, but give more surplus to the top side of the box than the bottom side.
Try to get it in the right place the 1st time you lay it down, it can ruin the paper to try and pull it back up from the glue.
Once its down, take your hands and smooth it out trying to get out the bubbles (but don't go nuts, you can't it them all out.)
For the inside of the box just glue and press the paper down and crease into the corners.
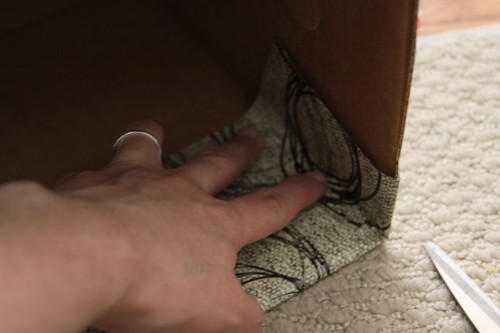
For the bottom, glue the paper and form a triangle edge as shown. Maker sure to glue under each layer of paper so it doesn't come up.
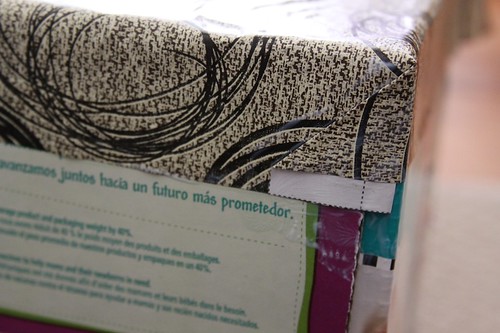
Now you have glued around the edge too, as shown. (Do the whole process again to the opposite side now)
When both sides are done, move onto the smaller sides.
You don't want your new piece of paper to go all the way to the edge of the box (that will make it too easy for the paper to pull back), just make it big enough to cover some of the other piece thats already there. And glue it down.

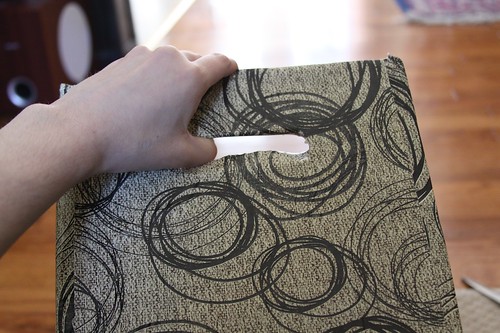
Now for the handles. Take your box cutter again and slit right across that hole, right along the middle of it.
Now push the paper back and up (and down for the lower side) and glue that little part to the inside of the box.
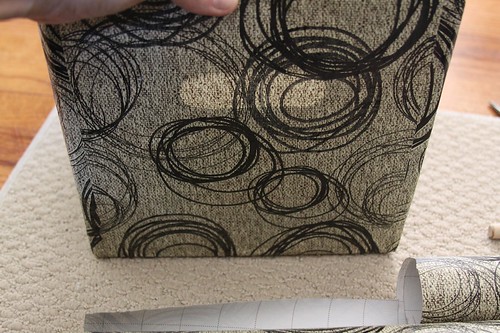
Now you have an adorable storage container!
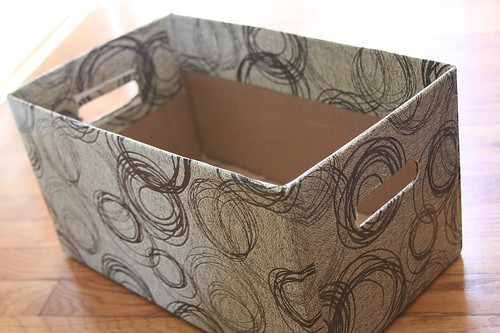
And baby friendly awesomeness for $5!!
Yay!!
No comments:
Post a Comment